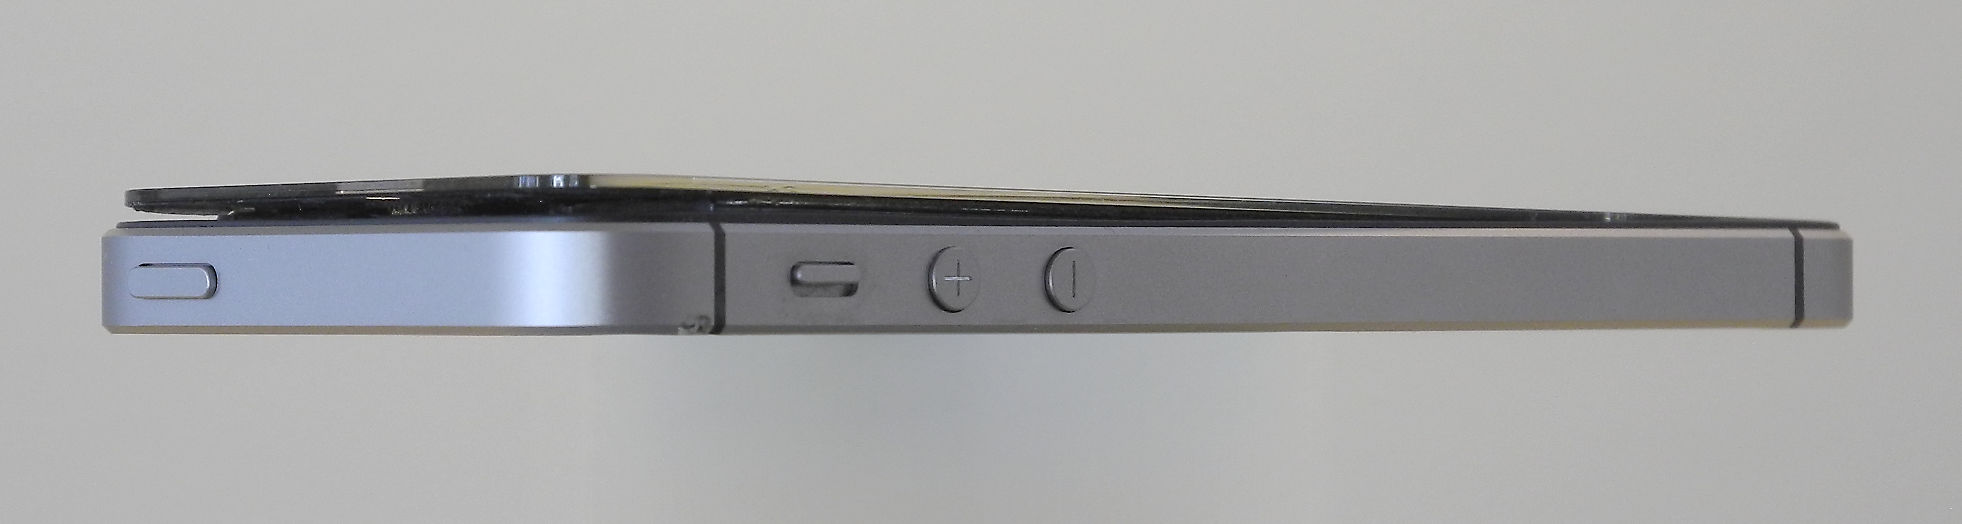
My iPhone SE, purchased in 2017, had started to bulge. And the battery would not sustain a charge for more than a few minutes before the phone would die. I had taken to running it off the charger when needing the phone for a bank login or a 2FA authenticator code. But running a device with a severely worn out and bulging battery is not advised, and even dangerous.
There were three versions of the SE and this was the first one. Apple in Australia no longer offered a battery replacement service, classifying this device as a “vintage” product.
Local repair shops who advertised battery replacement did not reply to my emails about repairing such an old iPhone.
So there were two options:
-
Replace the phone with a new one.
-
Buy a replacement battery and undertake the replacement task myself.
A new iPhone would set me back somewhere in the range of AUD$1000 to AUD$1500. Since I seldom use the phone, this was definitely my second preference.
iFixit came to the rescue with an iPhone SE replacement battery kit. I regard iFixit as a reputable brand. Their written instructions and videos are first class. They set and maintain a high standard:
https://www.ifixit.com/en-au/products/iphone-se-replacement-battery
When the kit arrived I set about the task of replacing the battery, following step by step the instructions in the iFixit video.
The video is self explanatory:
https://www.youtube.com/watch?v=BYxi3E_KE_g
Following are some notes on my experience replacing the battery.
Disassembly and Removal of Old Battery
-
There are numerous very small screws (some smaller than a grain of rice). It is essential to group these and carefully store these in a series of containers to avoid losing any parts. A written identification label for each container helps.
-
Removing the old battery did not go as smoothly as shown in the video. The recommended procedure is to carefully pull aside each of the two pieces of (double sided) white adhesive tape which hold the old battery in place. Both of these broke almost immediately.
-
Consulting some online forums produced the suggestion of using dental floss together with generous application of alcohol to soften the adhesive and warming the adhesive to soften it. The dental floss is inserted under the battery and gently moved back and forth while pulling it from the bottom to the top of the battery. Thankfully this method worked.
-
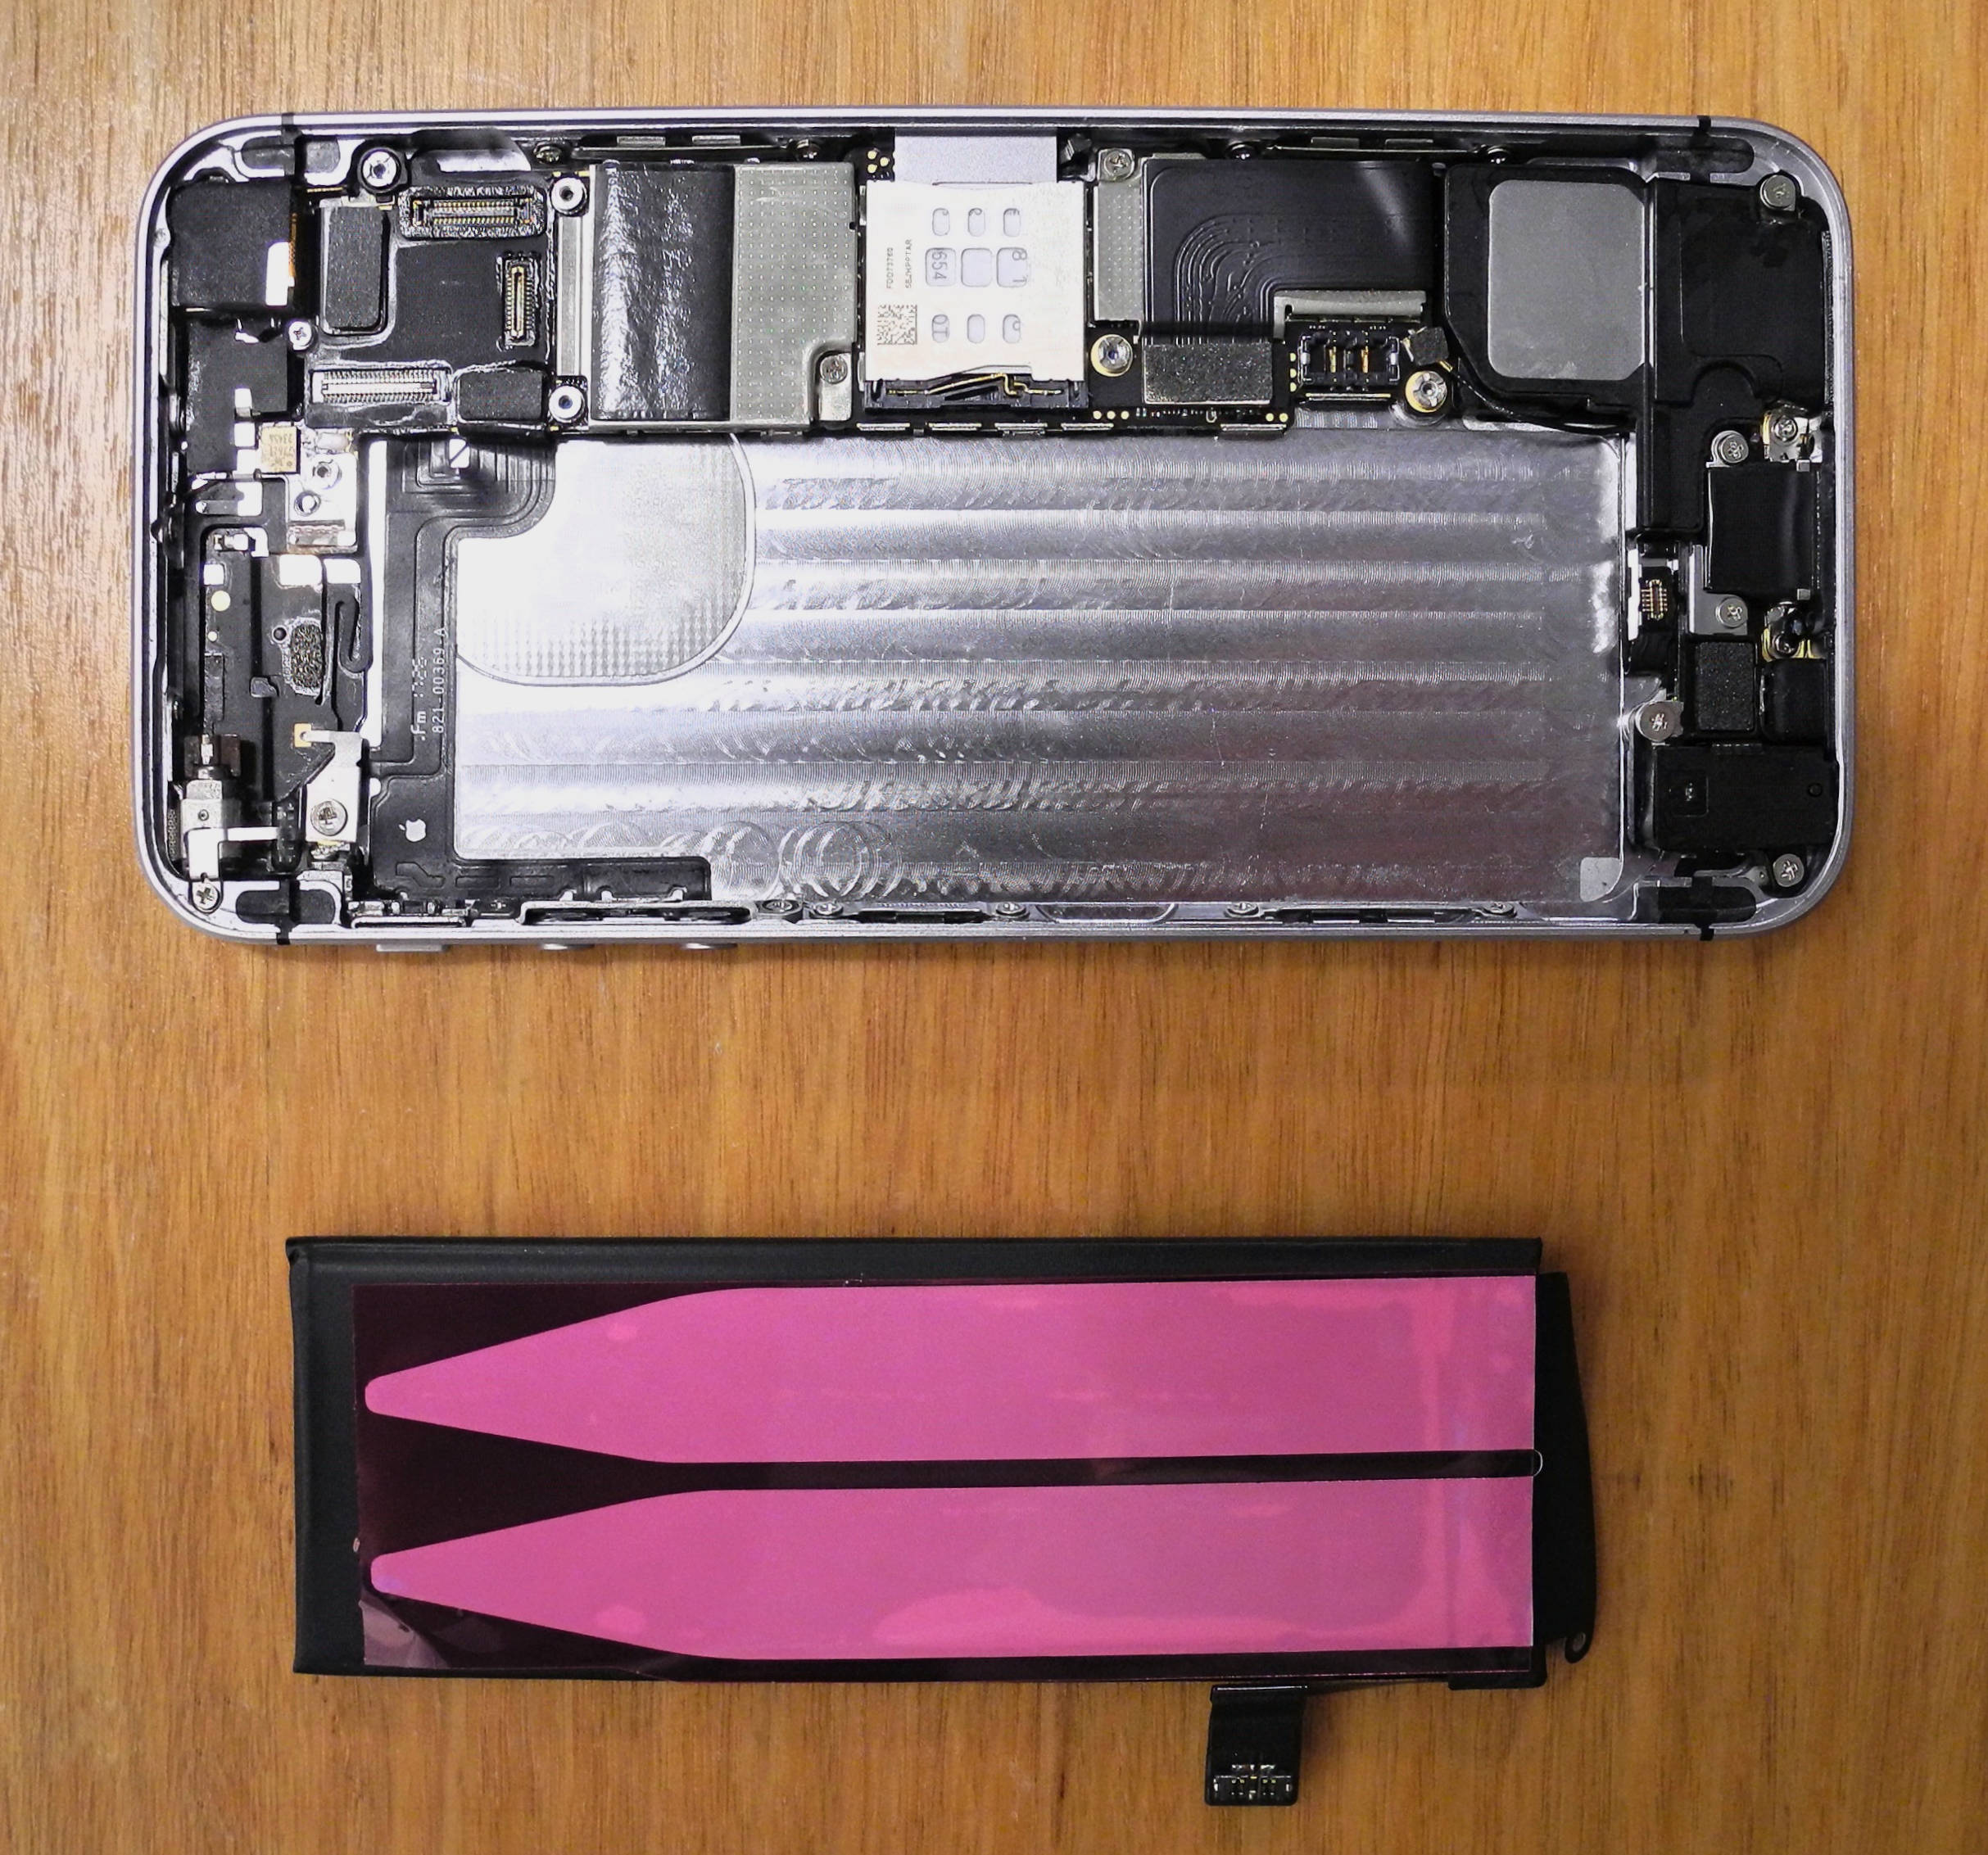
Most of the adhesive strips remained on the phone case (inside surface), so the dental floss sliced between the adhesive strips and the battery. Carefully peeled off these remaining adhesive strips then cleaned the surface of any remaining adhesive with IPA. (see photo)
-
Carefully installed the new battery by attaching the battery connector first, then removing the adhesive and tilting the battery down into its compartment.
Reassembly
Re-assembly follows the disassembly process in reverse.
Re-connecting the tiny connectors is tricky because it’s almost impossible to see whether they are correctly aligned. Most snap into place in the correct position. The final connector for the Home button was the smallest and most difficult. This took a few attempts. Then installing its metal cover was also tricky. In the end, when correctly positioned with tweezers and spudger, it snapped into place.
I closed the front of the phone and snapped into place the clips. On the first attempt, the lugs at the top of the screen were still outside the case and could not be pressed in. So I had to use the suction cup tool to remove the screen again (surprisingly difficult) and then clip in the top clips first then hinge down the front panel from there. Eventually all fitted back neatly and I fitted the two pentalobe screws at the bottom of the phone.
Recharging with a USB monitor inserted in the cable indicated it was charging with about 1.5 amps.
The phone sprang to life after a while and seems to be working correctly — which is a relief.
I subsequently followed the charging instructions on the new battery box:
-
Charge newly installed battery up to 100% and keep charging for at least two more hours.
-
Use the device until it shuts down due to low battery.
-
Charge without uninterruption to 100%.
Behaviour after re-assembly
After re-assembling the phone, I found that after a few minutes of usage it would often generate a series of spurious “touches” on the screen. My initial assumption was this was due to one of the touch screen connectors not mating correctly, so I tried banging the phone to jolt it into place. Eventually I concluded this was an electrostatic phenomenon. Now some weeks after the repair the phone appears to be working correctly again.
A second iPhone SE in the family is now exhibiting the same problem, so it looks like another battery replacement repair job…