In Part 1 of this article we established the starting materials available for restoring “The Witness”. The next step was to choose a restoration strategy.
Obviously it is desirable to work from materials which are as close as possible to the originals — on the assumption that these will be the highest quality available. In this case we did have the original camera reversal (Roll A), but it exhibited vinegar syndrome and visible shrinkage. The question was: could it be scanned and would it produce a useable result?
First Set of Scans
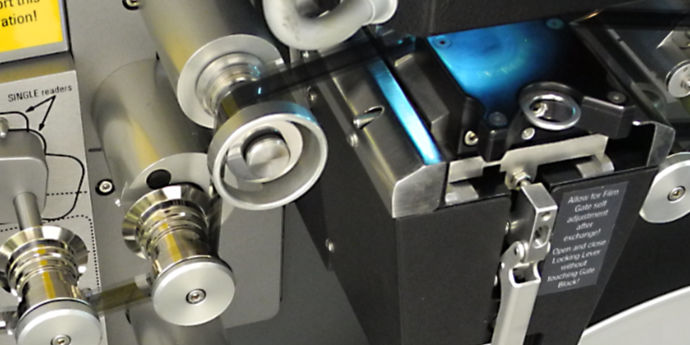
The only way to find out was to send the original camera reversal (Roll A) off for scanning, together with Roll B (inserts), Roll C (titles) and the sound negative (Roll 1). The Golden Eye scanner at Cameraquip in South Melbourne did an amazing job in handling the shrunken film, but the resulting scans revealed that the shrinkage was not simply, as one might have hoped, a uniform shortening of film length that preserved the integrity of individual frames.
Alas the camera reversal scan (Roll A) showed significant “micro-shrinkage” regions within individual film frames. This created the effect of the image moving around in strange ways as the following sample shows.
So although the tonal quality of the camera reversal scan was superb, it turned out to be not useable.
Second Set of Scans
The next best option was to scan the intermediate negative (Roll 2) which would have been struck from the camera reversal at the time of production. This was in good condition with no evidence of vinegar syndrome, and was sent off for scanning.
The result turned out to be more than acceptable. The tonal quality was still excellent and while tonal levels were not consistent, digital grading could fix that.
(A third option would have been the release print. But each generation away from the original will degrade the quality of tonality, sharpness, amount of dust and scratches, etc.)
Post-Processing of Scans
Both sets of scan files were processed at Cameraquip to stabilise jitter and to do an automated “dust bust”, which removes some but not all of the dust marks. To get a better result than this would require the use of high end and expensive restoration software — well beyond the budget of this project.
Comparison with 2007 URSA Scan of Release Print
It’s worth making a comparison here between the Golden Eye scan of the intermediate negative and the telecine scan arranged by Mike Browning in 2007 from the second release print copy which I had sent him. This was scanned on a Rank Cintel URSA telecine at Complete Post in Melbourne. The Ursa is a flying spot scanner and the scan was made at standard PAL resolution. Mike supplied me the scan as a DVD. Compare this side-by-side result:
As you can see, the telecine scan is a very poor result compared to the high resolution digital scan. Some notable differences are:
-
The Ursa scan is more tightly cropped.
-
The Ursa scan is very washed out. The highlights are blown out (clipped). This could be partially due to the release print being a poor transfer from the intermediate negative. Or it could be the scanner. Or both.
-
The Ursa scan does not have the same level of sharpness, even at the reduced PAL resolution.
-
The Ursa scan of the release print has lots of dust and scratch marks. While the intermediate negative would have been cleaner anyway, the dust removal done at Cameraquip would have contributed to the cleaner result for the Golden Eye scan.
-
The Ursa scan has lots more jitter.
All in all the Ursa scan comes a very poor second to the Golden Eye scan. It shows how much scanner technology has improved!
Interestingly, when the Ursa scan was received by Mike Browning in 2007, he was disappointed with the result. Mike noted that the film was “apparently not even graded” and that “The lighting was awful. Too much light. The film is overexposed.”
However we can see now that this was not the case. The Golden Eye scan of the intermediate negative shows that the lighting was excellent and the film was not overexposed. It’s possible that the release print, being a composite of the intermediate negative and the titles, may have had more contrast. But there is no doubt that the more modern scanner produced a superior result.
The Soundtrack
On the variable-area sound negative, the background was clear film with the soundtrack being black. For some reason the clear film produced a great deal of background noise when it was scanned on the Golden Eye scanner. And the reproduction of high frequencies was less than ideal. Adding EQ to boost the high frequencies just exaggerated the noise. The scan of the sound negative was an unexpected disappointment.
The next option was to fall back to using the soundtrack from the telecine scan arranged by Mike Browning in 2007. This scan, done on an analog scanner, was remarkably good, and had a very respectable HF response. The URSA telecine had done an excellent job with the release print soundtrack.
By the way, doing anything with the 16mm magnetic film copy of the soundtrack seemed very doubtful. Vinegar syndrome, shrinkage and oxide shedding were very evident. And finding a machine that could play such a soundtrack would have been a challenge in 2019.
So, with the best available scans of the picture and soundtrack now completed, it was time to fire up the digital tools for audio repair and picture grading. That’s the subject of the next and final post.
