“The Witness” is a short, black and white film drama made at GTV9 circa 1960 by Denzil Howson and Mike Browning in which Denzil played two parts. You can read more about the making of the film in a post on the Denzil Howson Archive: The Witness — A Short Film by Denzil Howson and Mike Browning circa 1960.
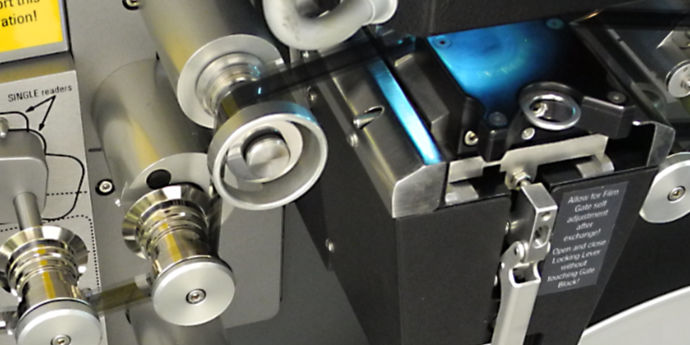
Our focus here is the scanning and restoration of this short film, undertaken in 2019–2021. I will cover this in a series of blog posts.
Starting Materials and Their Condition
We begin by reviewing the starting materials and their condition.
It is remarkable that after nearly 60 years almost all the original elements of this film were present in Denzil’s collection — spread over four numbered film cans: CAN62, CAN63, CAN17 and CAN18 (Denzil meticulously numbered and labelled his film cans and tape boxes).
Release Prints
CAN17 and CAN18 each contained a release print. I sent CAN18 to Mike Browning in October 2006 after he had offered to have the film digitised at Complete Post in Melbourne on their Ursa telecine.
Camera Reversal, Work Print and Other Elements
The other two cans contained the various elements that represented stages of the film’s construction — starting with the original 16mm camera reversal.
CAN63 contained six rolls of film, each wrapped in labelled white wax-paper bags.
Here is a summary of these rolls:
| Roll Label | Description | Subject Matter | Condition |
|---|---|---|---|
| Roll A | Positive image roll (original camera reversal — edited) | Full-length main narrative | Vinegar syndrome with visible shrinkage |
| Roll B | Short positive image roll | Window cutaway shot | End leader very degraded. Image section of window shot does not appear too shrunken |
| Roll C | Short roll | Opening and closing titles — white on black background (i.e. the image is positive in terms of the final result) | Don’t appear to be shrunken |
| Roll C Titles Only | Short roll | Another titles roll apparently, but with white leader in the non-titles sections | Exhibits shrinkage |
| WP | Positive image roll | Work print (probably) | Vinegar syndrome |
| Unlabelled | 16mm magnetic film roll | Edited soundtrack | Severely shrunken Strong vinegar smell Oxide shed into the bottom of the can Sticks together in places on spooling |
What is Reversal Film Stock?
Unlike the more familiar concept of a “camera negative”, reversal film produces, after processing, a positive image on a transparent base. 16mm black and white reversal film would have been the standard film stock in use at GTV9 for news gathering because the film exposed in the camera, once processed, can be edited easily, because the image is positive, and then broadcast directly to air. Negative film requires production of a positive print — hence twice the amount of film, two processing steps and the attendant delays. Hence reversal film stock would have been readily at hand at GTV9 and the film processing may even have been available in-house (as it often was in television stations of that era). All these reasons may have made it feasible for Mike Browning to slip this project through as part of the regular film workflow at GTV9.
Sound and Picture Negatives
CAN62 contained two same-size 16mm rolls on cores. I labelled these ROLL1 and ROLL2. ROLL1 was a sound negative. ROLL2 a picture negative which appeared to be an intermediate negative printed from the camera reversal roll in CAN63. The sound negative was probably created on an optical sound recorder from the 16mm magnetic film soundtrack in CAN63. Both these rolls spooled cleanly and seemed to be in good condition, with no sign of vinegar syndrome. Here is a summary of the contents of CAN62:
| Roll Label | Description | Condition |
|---|---|---|
| Roll 1 | Sound negative | In good condition. No vinegar syndrome. |
| Roll 2 | Picture negative | In good condition. No vinegar syndrome. |
Summarising Mike Browning’s Original Workflow
From these elements, we can deduce the following original workflow.
Probable Picture Workflow:
-
Shoot camera reversal (positive image).
-
Strike (positive) work print from camera reversal.
-
Edit work print (probably on a Moviola).
-
Edit camera reversal the same as work print. Split into A and B rolls with blank fill to position for cross-fades.
-
Prepare and film the title cards to produce white (clear) lettering on black background. Edit these into a C-roll so the titles can be faded in where required.
-
Strike an intermediate negative (probably on a contact printer?) from the edited A, B rolls and C rolls. The cross-fades would be done at this stage. Overprinting the titles would “burn” the titles as black lettering on the negative which would end up as white on the final release print.
-
Strike release print/s by combining the intermediate negative and the optical soundtrack.
Probable Sound Workflow:
-
Editing the original 16mm mag film soundtrack in parallel with the work print/camera reversal.
-
Mix this dialog track with music (GTV9 or Fanfare Films audio department) to generate a composite magnetic film soundtrack?
-
Strike an optical sound negative from the magnetic film.
What’s Next?
This completes our review of starting materials and probable workflows. In Part 2 we will look at strategies for restoration and arrange for scanning of the required elements.