As described in the last post, I had removed the amplifier and power transformer, then removed and cleaned the sound drum pressure roller on the EIKI NT projector.
A close inspection of the mechanisms in the rear of the projector revealed traces of rust on some parts and a general build up of dust and grime. Clearly this machine needed a more thorough overhaul, so that was the process which I now began. Fortunately I was able to locate a scanned version of the Service Manual for the Model N Series, dated May 1980, which proved a valuable guide during the disassembly process.
When disassembling any machine, the challenge is to put it back together again in the correct way. You cannot rely on memory of all the unfamiliar details which are quickly forgotten. You need documentation in the form of photographs and notes. The process I followed was:
-
Disassemble pieces one by one, photographing them in-situ before removal and then photographing the pieces after removal.
-
All sub-assemblies placed into individual labelled containers. Small plastic containers labelled with whiteboard markers work well — you can clean off the writing and re-use the containers in the future.
-
Where necessary, make notes in a project diary.
The combination of dated diary notes and dated digital photographs provides a timeline and sequence of the disassembly process which can be followed in reverse for re-assembly.
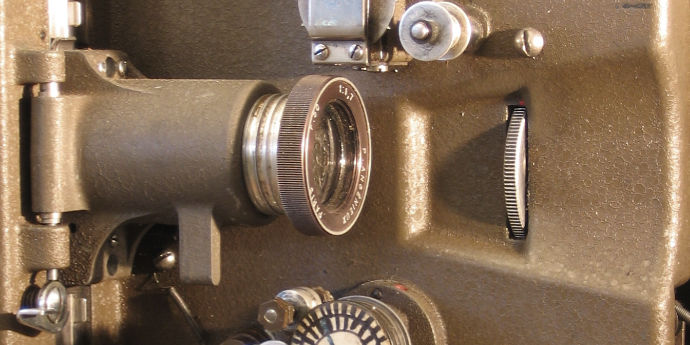
What follows is a gallery of photographs taken during the disassembly process, roughly in order of disassembly. Each photo has a caption explaining what is being seen.
EIKI NT Disassembly Photo Gallery
Click on photos to enlarge


