As I write this blog post (November 2015), I’m still covering work done a year or more ago. At the time I didn’t think to write about it. Looking back though it seemed an interesting journey.
So let’s see, we’ve covered preparatory work before scanning, various attempts and experiences with scanning the kines, some more successful than others, an analysis of the scans and some experiments with digital restoration.
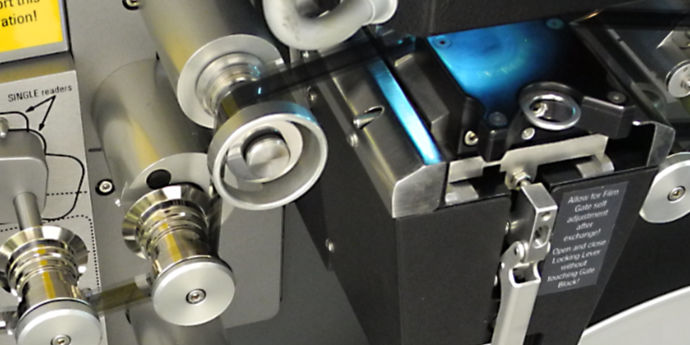
Choosing a Tool for Grading the Scans
For DVD or internet release the scans will need “grading” (adjustment of grey levels), adjustment of positional errors (explained below) and the odd bit of editing and frame repair. That means a digital editing tool, and the obvious choice was Final Cut Pro X (FCPX) from Apple.
This is the “new” version of Final Cut released a few years ago that caused so much controversy in the world of professional video and film editing because it introduced fresh (and in my humble opinion better) ideas about how a video editing tool should work. It’s true that the first version of FCPX was lacking in some important features that were present in the earlier version of Final Cut. But gradually Apple fixed these problems and continued to innovate.
Final Cut Pro X is a brilliant tool with a beautiful user interface. And on a modern Mac laptop or desktop computer it really flies.
FCPX would be an ideal tool for preparing the scans for final release.
But first there was the issue of downsampling the scans from high definition 2K (2048 x 1556 pixels) to PAL SD (720 x 576 pixels). Easy? Well, not quite so easy. Read on.
What the Overscan Revealed
The kine scans were done at “2K” resolution: 2048 x 1556 pixels. With all those pixels — far more than needed to capture the relatively low-resolution video image on the film* — there were plenty of pixels to spare for “overscan”. This means scanning beyond the nominal edge of the video raster to capture the surrounding area of the film, including at times part of the sprocket holes.
As well as providing clues about the source of jitter, discussed in earlier posts, this overscan revealed other unexpected anomalies in the scans.
One of these anomalies was the phenomenon of the video raster periodically shifting its position within the film frame. For example, over a period of a second or two the video raster will slide left or right to a new position. This happens only a few times in a 50 minute reel. Puzzling. What could be the cause of this? Perhaps the film recorder operator was making some on-the-fly adjustments to framing while recording the kine? Or maybe this was some artefact of the video signal causing the raster to shift left or right on the CRT screen?
Whatever the cause, the result is that the outer boundaries of the video raster are not constant relative to the film frame over the duration of a reel. For an optimal final crop that preserves as much as possible of the video raster, these movements need to be corrected.
When Should Downsampling be Done?
As we’ve mentioned in earlier posts, the actual resolution of the television image recorded on the film is no more than 300 lines vertically and not much more horizontally. PAL SD resolution, which is 576 x 720 pixels, is therefore more than adequate to capture and preserve the available detail.
For this reason, there’s simply no benefit to be gained from working at 2K resolution. 2K video is a bandwidth and disk space hog. Far better therefore to downsample the scans to PAL SD resolution before doing positional adjustments and grading.
But to correct the movements of the video raster mentioned above we will need to preserve the overscan when downsampling the video to PAL SD, so that we’ve got “room to move”. The overscan could also be useful in removing jitter (a topic to which we will return in future posts).
Downsampling the Scans to PAL SD Resolution
What this means is that we can’t just crop the 2K scans to the boundaries of the video raster and then downsample the result to PAL SD, or 720 x 576 pixels. We need to downsample the 2K scans so that the area of the video raster corresponds to a PAL SD frame, but with extra pixels around the edges for the overscan. I will call this PAL SD+ resolution.
Working this out is going to require bit of maths, which we will look at in the next post.
* See the post About the GTV9 Film Recording System Circa 1960 for details of the actual video resolution recorded onto the film.